

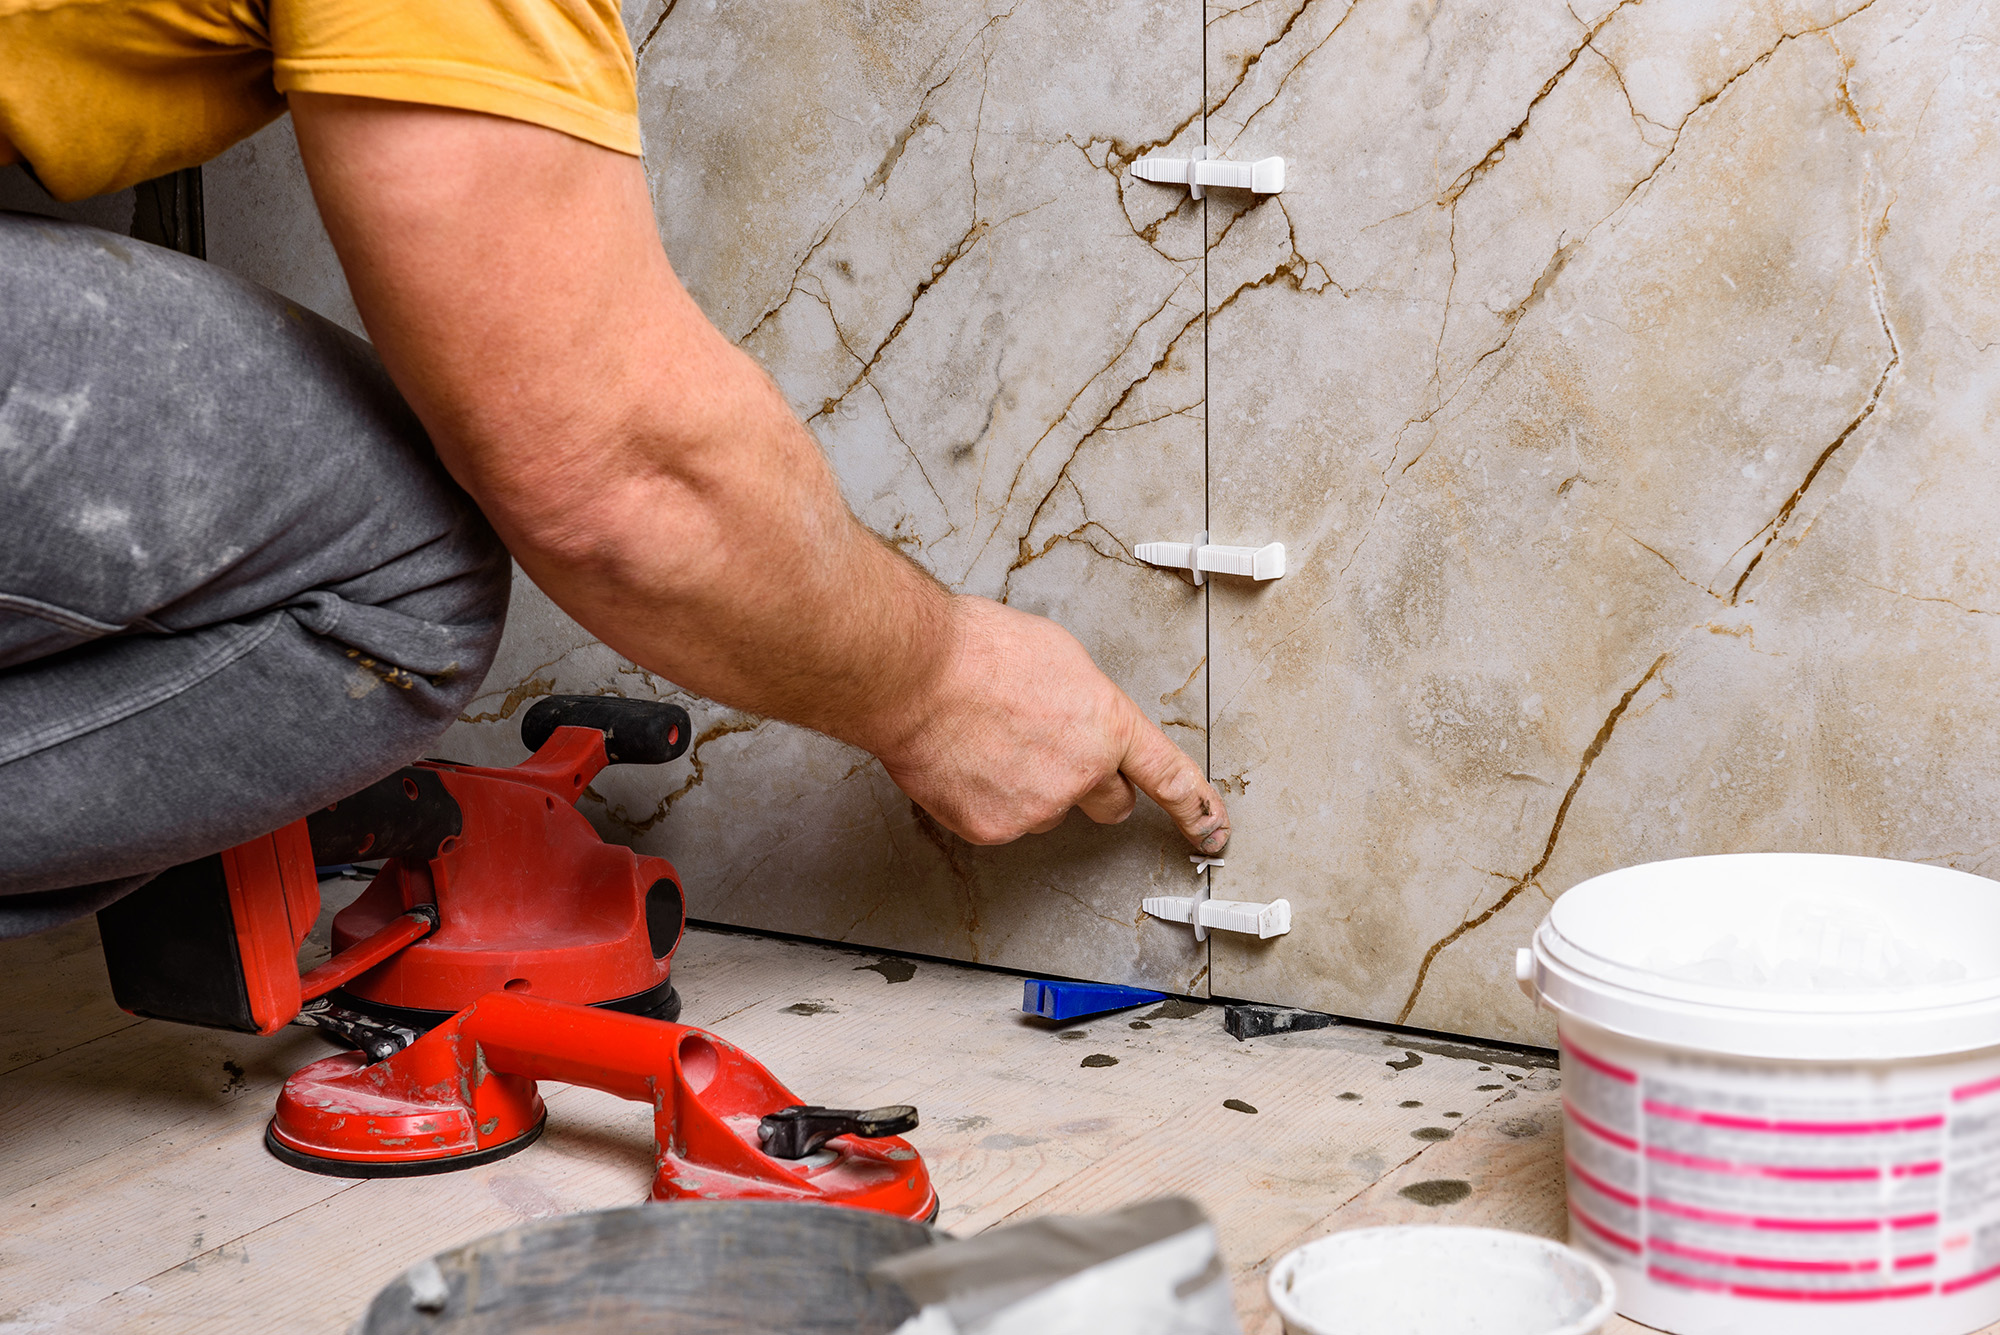
“Tile over tile” sounds like the cleanest shortcut: less demo dust, faster timeline, fewer surprises. In reality, it’s a structural and bonding decision that has to pass a few non-negotiable checks. CarpetWorks sees overlay succeed most often when homeowners treat it like an engineering problem, not a DIY hack. If you’re near East Hartford, CT, bring photos and measurements and we can help you validate an overlay plan before you commit.
Step 1: The first question is not “Can I?” It’s “Should I?”
Overlay is a hard no when any of these exist:
Hollow-sounding tile (debonding beneath)
Cracked tile with displacement (movement below, not just surface damage)
Moisture problems (basements, slab moisture, recurring dampness)
Loose grout everywhere (system failure signals)
Uneven floors beyond what you can correct (overlay will copy the flaws)
If the existing tile system is failing, you’re about to trap a problem under a new finish layer.
Step 2: Bond test the existing tile (don’t rely on vibes)
You need confidence that the existing tile is bonded well enough to act as a stable substrate.
A. Tap test (quick diagnostic)
Use a coin or the back of a screwdriver.
Listen for sharp “tink” (good) vs dull “thunk” (hollow).
Mark hollow areas with painter’s tape.
If you have widespread hollows, overlay is off the table.
B. Movement test (the stomp test)
Walk the floor and apply pressure near transitions and doorways.
Any flex, squeak, or “click” indicates movement. Tile hates movement.
C. Adhesion spot-check (best effort)
If you can access a sacrificial edge tile (like under an appliance), attempt to remove it. If it pops easily with minimal resistance, that’s a warning sign the bond is weak.
Step 3: Height math (where most overlays die)
Overlay adds thickness and can create a chain reaction of functional problems.
Typical thickness stack (approx.):
New tile: 8–12 mm
Thinset mortar bed: 3–6 mm (depends on trowel and back-butter)
Total: ~½ inch (often more at transitions)
What to measure before deciding:
Door clearance: Will doors swing without shaving?
Dishwasher and stove clearance: Can appliances slide out later?
Toilet flange height: Toilets need correct flange position; overlay often forces flange extenders or resets.
Baseboards and trim: Will shoe molding look bulky?
Transitions to adjacent floors: Trip hazard risk, especially at hallways and stairs.
If your overlay triggers multiple “fixes,” demo starts to look cheaper and safer.
Step 4: Flatness and lippage risk (especially for large-format tile)
Old tile floors often have subtle “waves.” New tile will telegraph them, then amplify lippage.
Reality check: large-format tile needs a flatter substrate than most existing tile surfaces provide. If your floor isn’t within tight flatness tolerances, the new installation can look uneven even if installed carefully.
What to do:
Place a long straightedge (or level) across multiple tiles in several directions.
If you see rocking, gaps, or high corners, you’re headed toward lippage unless the substrate is corrected (which can be complex over tile).
Step 5: Surface prep that actually bonds (not the “scuff and pray” method)
Tile is a low-porosity surface. Standard thinset doesn’t bond well to glossy, sealed, or contaminated tile without correct prep.
Minimum prep requirements:
Degrease properly
Kitchen tile especially holds oils. Use a heavy-duty degreaser, rinse thoroughly, and let dry.Mechanical abrasion
You need to roughen the surface, not just “clean it.” Options include:
Diamond grinding
Aggressive sanding with appropriate tooling
The goal: remove sheen, create tooth.
Bond-promoting primer (as required)
Many overlay systems rely on a primer or bonding agent appropriate to the mortar system being used.
Important: “Scratch the glaze a bit” is usually not enough on its own.
Step 6: Grout lines as “tracks” (and how to prevent ghosting)
Old grout joints can telegraph through if you don’t address them.
If grout joints are deep, they can create low channels.
The new tile may settle into those contours, increasing lippage.
Mitigation options:
Skim coat to fill low joints (system-dependent)
Use appropriate leveling/patching products compatible with the mortar system
When overlay makes sense (the narrow win zone)
Overlay is most viable when:
Existing tile is fully bonded (no hollows)
Floor is flat and stable
Height increase won’t break doors/appliances/toilet flange
You’re using tile sizes and layout that can tolerate minor imperfections
Tile over tile can be a smart shortcut or an expensive trap. If you want a real overlay “go/no-go” evaluation, CarpetWorks can help you review your existing floor conditions, plan the height transitions, and choose tile materials that bond properly. We serve New Haven, Waterbury, Hartford, East Hartford, West Hartford, Middletown, and Manchester, CT. Visit us at East Hartford, CT or contact us to talk through your measurements and get the right product system for your home.


